
How to clean tile grout step by step
Cleaning tile grout is much easier when the process is done in the right order. Instead of wetting everything at once and spreading dirt around, it is best to prepare the surface, apply the product only where it is needed, give it time to work, and only then scrub. This gives better results with less effort and reduces the risk of damaging the tiled surface.
Step 1 — Remove dust, objects and loose debris
Before using any product, remove rugs, bottles, baskets and anything else that might get in the way of cleaning. Then wipe with a dry cloth, use a soft brush or vacuum to remove dust, hair, crumbs and other loose debris that often builds up in the grout lines.
This step makes a difference because it prevents dirt from turning into a paste when it comes into contact with water. It also helps the cleaning product reach the grout directly, instead of being blocked by dust or surface grease.
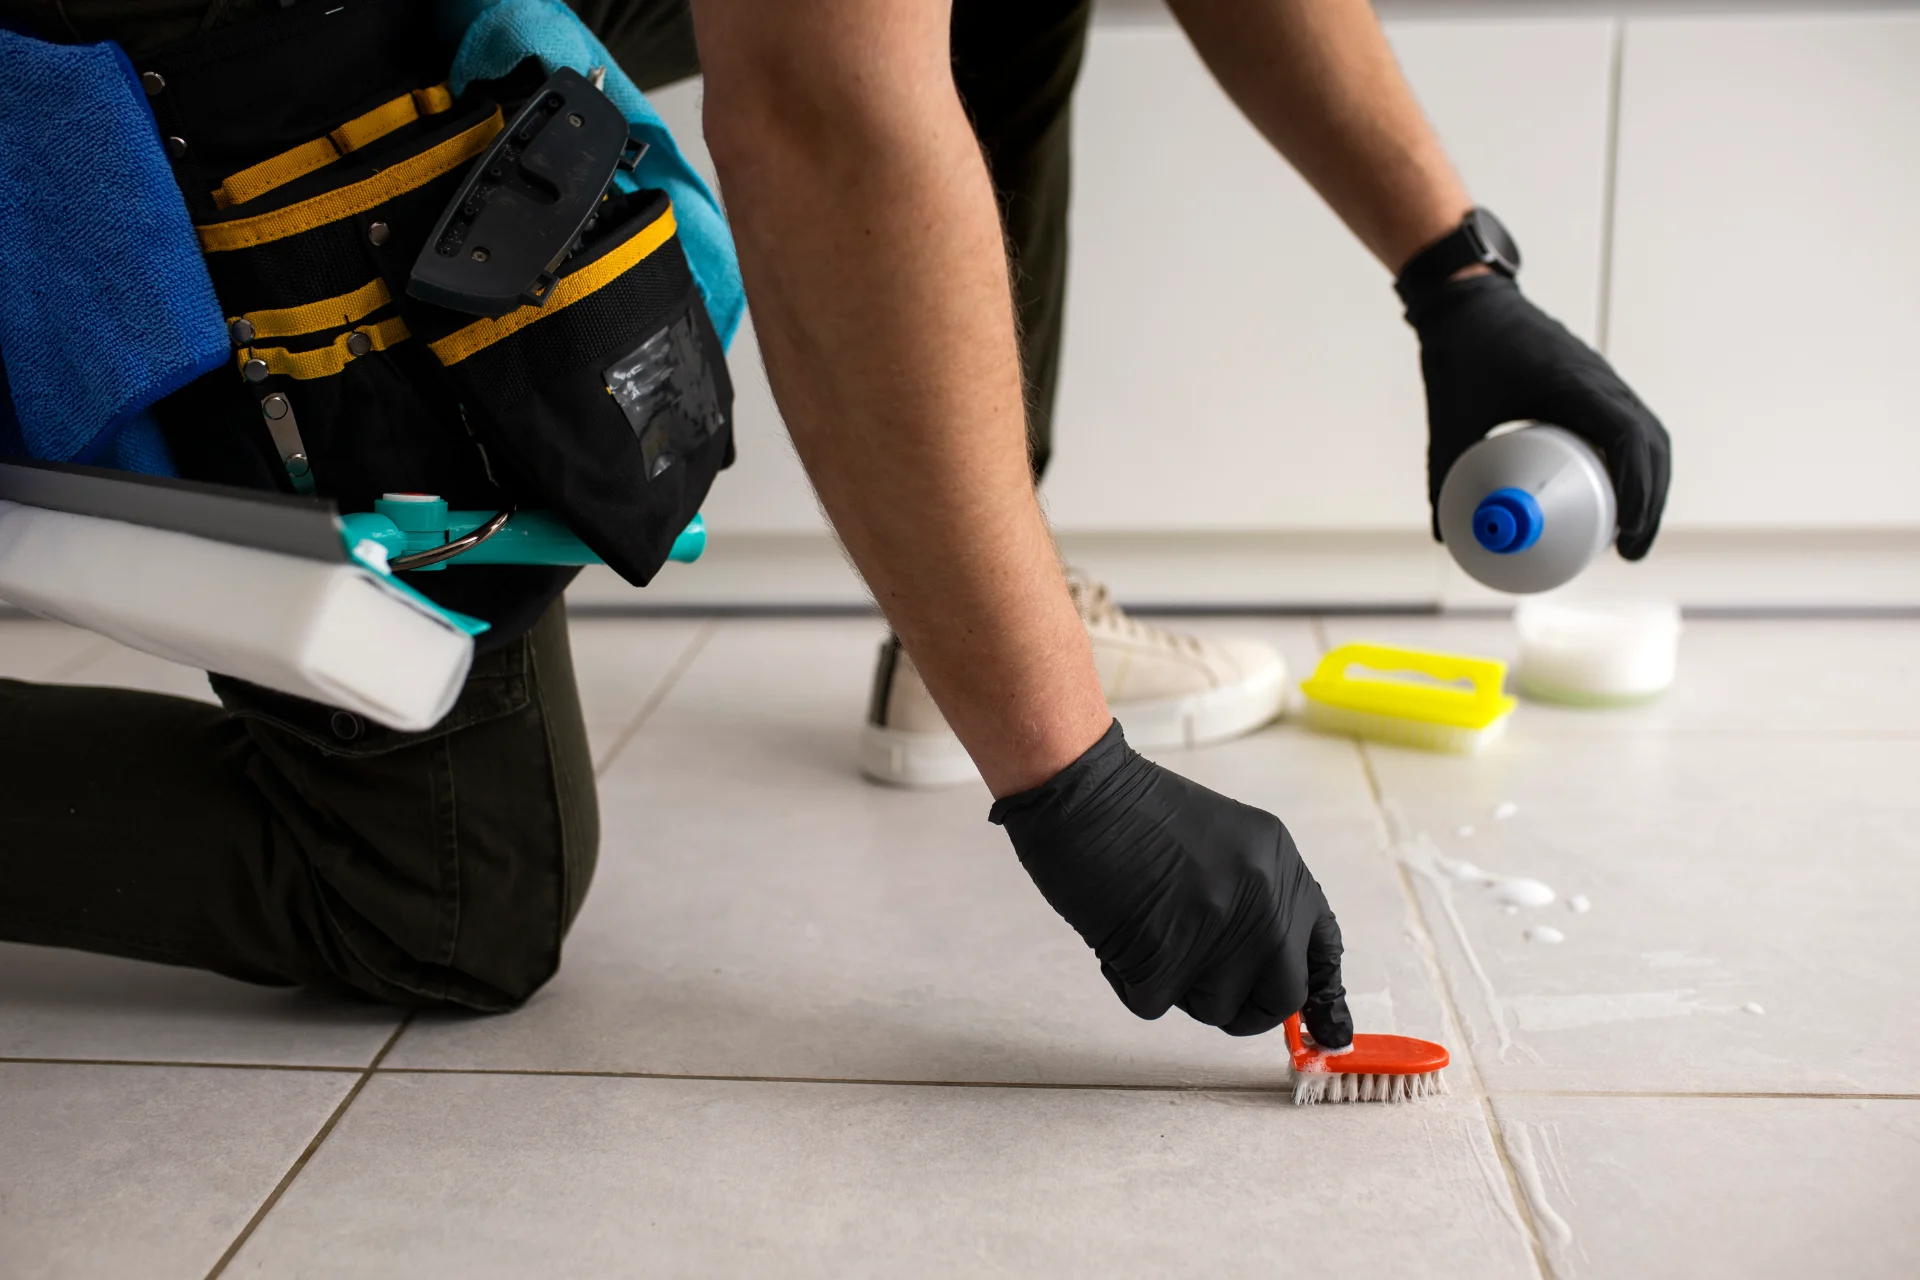
Step 2 — Apply the right solution to the grout, not the whole tile
After preparing the area, apply the chosen solution directly to the grout line. You can use a spray bottle, an old toothbrush, a small sponge or even a cotton bud in more delicate areas. The important thing is to focus the product on the grout line, where dirt, mould and grease build up most heavily.
Wetting the whole tile rarely helps and often just creates more work. When the product is applied more precisely, there is less waste, less rinsing and a lower risk of leaving marks on sensitive surfaces.
Step 3 — Let it work before scrubbing
A common mistake is to apply the product and start scrubbing straight away. In most cases, it is worth waiting a few minutes so the solution can loosen ingrained dirt. This contact time reduces the effort required and greatly improves the final result.
The exact time depends on the product used, but for household cleaning, a few minutes is usually enough. The aim is not to let it dry, but to allow the mixture to soften grease, mould or dark stains. When grout is very grimy, this short waiting time can make all the difference.
Step 4 — Scrub, rinse and dry well
Only then should you scrub the grout with a medium-bristle brush or a toothbrush used for cleaning. Use short, firm movements without applying excessive force, to avoid unnecessary wear. If needed, repeat the application on darker areas.
When finished, rinse with a damp cloth or clean water to remove product residue. Finally, dry the surface thoroughly, especially in kitchens and bathrooms. Leaving grout wet encourages stains, damp and mould to return, which makes the problem come back much faster.
How to clean tile grout with baking soda
Baking soda is one of the most commonly used household solutions for cleaning tile grout because it helps loosen dirt, neutralises odours and has mild abrasive properties. It works best on moderate stains, built-up dirt and some surface grease. It will not work miracles on very dark grout, deep mould or grout that is already worn, but it can solve many issues without immediately resorting to harsher products.
Simple baking soda and water recipe
The simplest way to use baking soda is to mix the powder with a little water until it forms a thick paste. It does not need to be runny. The idea is to be able to apply it directly to the grout without it running too much onto the tile.
After spreading the paste, leave it to work for a few minutes. Then scrub with a small brush and rinse with a damp cloth or clean water. This method is suitable for regular maintenance, light dirt and grout that has lost its clean appearance through daily use. It is also a good option for anyone who wants to start with a gentler solution before moving on to something stronger.
Baking soda and washing-up liquid paste for grease
When the grout is in the kitchen or near areas where grease builds up, adding washing-up liquid to baking soda usually works better than using water alone. The washing-up liquid helps break down greasy residue, while the baking soda gives the mixture more body and strengthens the cleaning action.
Simply mix baking soda with a few drops of washing-up liquid and a little water until it forms an easy-to-spread paste. Apply it only to the grout, leave it to work for a few minutes and scrub without pressing too hard. This method is especially useful between tiles near worktops, by the sink or on walls more exposed to food splashes and greasy steam.
When baking soda is not enough
Although useful, baking soda has its limits. If the grout is very grimy, has old mould, persistent black stains or signs of wear, it may not be enough to restore the original colour. In these cases, repeating the same solution several times only creates more work and does not always improve the result.
When this happens, you may need to move on to a solution better suited to the type of dirt, such as an antifungal product, a mixture designed to whiten light-coloured grout or, in more extreme situations, consider regrouting. Baking soda is excellent for maintenance and intermediate cleaning, but it does not replace every treatment, especially when the problem has been there for a long time.
How to clean tile grout with vinegar
White vinegar is one of the most widely used household products for cleaning tile grout, especially when there are light stains, soap residue or some surface dirt. It has the advantage of being easy to apply and useful for frequent maintenance. Even so, it is not suitable for everything. On grout with deep mould, heavy grease or very ingrained dirt, it usually needs reinforcement or even a different solution.
White vinegar and water for light stains
For regular cleaning, you can mix equal parts white vinegar and water and apply directly to the grout with a spray bottle, cloth or small brush. Ideally, leave it to work for a few minutes before scrubbing gently. Then simply rinse and dry well.
This solution works best on light stains, recent damp marks and areas that are not yet very grimy. It is a good choice for maintenance, especially when the aim is to prevent dirt from building up to the point where heavier cleaning is needed. Even so, it is best to test it first on an inconspicuous area, particularly if there are more delicate surfaces nearby.
Baking soda and vinegar: when to use it and when to avoid it
The combination of baking soda and vinegar is popular because it creates fizzing, which gives the impression of intensive cleaning. In practice, it can help loosen some surface dirt when applied to the grout and worked in immediately with a brush. It is a useful option for one-off cleaning in small areas with moderate dirt.
But there is an important point: this mixture is not automatically more effective just because it foams. In many cases, the visual effect is greater than the real result. It should also not be overused or used on sensitive materials. Nor does it replace proper products when there is resistant mould or old dirt. It makes sense to use this combination as an intermediate attempt, not as a universal solution for every grout problem.
Vinegar and washing-up liquid for weekly maintenance
For weekly maintenance, adding a little washing-up liquid to white vinegar can be more practical than always using heavier mixtures. The washing-up liquid helps remove greasy residue, while the vinegar helps loosen light marks and keep grout looking clean between deeper cleans.
This solution works particularly well in kitchens and bathrooms where the grout is still in reasonable condition but accumulates dirt easily. Apply only to the grout, leave it to work briefly, scrub lightly and remove all residue thoroughly at the end. The most important thing here is consistency. When maintenance is done every week, it prevents grout from darkening again so quickly and reduces the need for more aggressive methods.
How to whiten grimy tile grout
When grout is no longer just dirty and starts to look permanently dark, the goal is no longer simply to clean it. It is to restore its original appearance as much as possible without damaging the material. Before trying to whiten grout, it is worth understanding the difference between grimy grout, mouldy grout and grout that has already deteriorated. Not everything that is dark will turn white again just by scrubbing, and insisting on the wrong method may only waste time and damage the surface.
Baking soda and hydrogen peroxide for light-coloured grout
For light-coloured grout with dark stains, the combination of baking soda and hydrogen peroxide is usually one of the most effective household options. The baking soda helps create an easy-to-apply paste, while the hydrogen peroxide can help lighten the appearance of the grout, especially when visible grime is present but there is no deep deterioration.
Mix the two ingredients until they form a thick paste and apply only to the grout. Leave it to work for a few minutes without letting it dry completely, then scrub with a small brush. Afterwards, remove the residue thoroughly with water or a damp cloth and dry the area. This method tends to work best on small or medium-sized areas and on grout that is still structurally sound. If the grout is crumbling, very porous or has deeply ingrained mould that has been there for a long time, the effect may be limited.
Diluted bleach for resistant mould
When darkening is caused by resistant mould, diluted bleach may be more effective than gentle solutions. It should be used carefully, especially in enclosed spaces, and only when it makes sense to move on to a stronger clean. Ideally, apply a small amount directly to the grout, leave it to work briefly and scrub only as much as necessary.
Safety is essential here. Wear gloves, keep the space ventilated and always test on an inconspicuous area. Never mix bleach with other products. After application, rinse very thoroughly and dry the surface completely. Bleach can significantly improve the appearance of mouldy grout, but it does not repair structural damage. If the stain disappears and then quickly returns, the problem may be constant moisture, not just cleaning.
Grout pen: aesthetic solution or last resort?
When grout still looks bad even after cleaning, a grout pen can be a practical solution for evening out the colour. It does not clean or disinfect, but it improves the finish visually and can create the impression of renewal without the immediate need for renovation work.
It works best when the grout is clean, dry and still firm, but irreversibly stained. It is an aesthetic solution, not a repair. For this reason, it makes more sense as a last resort before regrouting, or in situations where the problem is mainly visual. If there is active mould, persistent moisture or crumbling grout, applying a grout pen over the top will only disguise the issue for a while. In these cases, the wisest approach is to treat the cause first and assess whether the grout really needs to be renewed.
How to clean kitchen tile grout
Kitchen grout usually gets dirty faster than grout in other rooms because it accumulates grease, steam, food splashes and dust at the same time. The result is sticky dirt that darkens the grout and does not come off easily with water or a quick clean. Here, rather than scrubbing hard, what works is using the right solution for grease and cleaning before the layer becomes too ingrained.
How to remove grease from grout
When the main problem is grease, it is best to use a mixture that can break down that residue before brushing. A simple option is to combine washing-up liquid with warm water, or make a paste with baking soda and a few drops of washing-up liquid. Apply directly to the grout and leave it to work for a few minutes.
Then scrub with a small brush, making sure to work along the grout line and not just the surface of the tile. If grease has been building up for a long time, you may need to repeat the process. The most common mistake here is trying to solve everything with force, when in reality the grease first needs to be softened so it can come away more easily.
How to clean grout near the hob
Grout near the hob is usually the most difficult because it is exposed to hot grease, steam and frequent splashes. In these areas, dirt sticks faster and tends to darken the grout unevenly. The best approach is to start by removing dust and loose debris, then apply a degreasing solution only to the grout.
Leave it to work for a few minutes and scrub carefully. If there is very old grease, one pass may not be enough. It is also worth cleaning the surrounding tile to prevent grease from immediately returning to the grout. In highly exposed areas, cleaning frequency matters as much as the product used. The longer grease is left to build up, the harder it will be to restore the original appearance.
How to prevent grease from coming back quickly
In the kitchen, the best way to prevent dark grout is to reduce build-up before it becomes visible. This means cleaning splashes quickly, wiping walls near the cooking area and not leaving weeks between cleans. Light, regular maintenance usually works better than heavy cleaning done rarely.
Good ventilation during and after cooking also helps, because greasy steam settles more easily on cold, poorly ventilated surfaces. If the area near the hob gets dirty very often, it is worth including the grout in your weekly routine. That way, grease does not have time to become ingrained, and cleaning no longer requires harsher products or several attempts in a row.
How to clean bathroom tile grout
In the bathroom, tile grout faces a different type of dirt from the kitchen. Here, the problem is usually the combination of moisture, steam, soap residue, shampoo, limescale and poor ventilation. This encourages dark stains, mould and a grimy appearance that quickly returns if cleaning is not accompanied by proper drying. So, as well as choosing the right product, it is important to understand whether you are dealing with mould, limescale or deteriorated silicone sealant.
How to remove mould from shower grout
Mould appears easily in shower grout because this is where water remains for longest, often without drying completely between uses. When stains are recent and superficial, you can start with baking soda or a gentle solution. But if the grout already has clearly defined black spots, it is usually necessary to use an antifungal product or, in more resistant cases, carefully diluted bleach.
Apply the product only to the grout, leave it to work for the necessary time and scrub with a small brush. Then rinse well and dry the area as much as possible. This last step is decisive. If the shower stays damp for hours every day, mould tends to reappear, even after a good clean. Whenever possible, air the bathroom and use a squeegee or dry cloth after showering.
How to clean limescale from grout and tiles
Limescale is another very common problem, especially in areas where water dries on the surface. It can leave white marks, a dull appearance and a feeling of dirt that is not always in the grout itself, but in the residue built up around it. In these cases, diluted white vinegar can help with light stains, provided the surface is not sensitive to acid.
Apply it to the grout and affected tile, leave it to work for a few minutes and scrub gently. If there is a lot of residue, you may need to repeat the process. The important thing is not to let the product dry on the surface and to rinse well at the end. When limescale builds up week after week, cleaning becomes harder and the bathroom starts to look dirty even immediately after being cleaned. Frequent maintenance prevents this effect.
How to clean silicone sealant around the bath and sink
The silicone sealant around the bath, shower or sink needs special attention because it gets dirty easily and can develop mould faster than grout. It should be cleaned with less abrasion, so the sealant does not tear or lift. Use a cloth, soft brush or gentle sponge with a product suited to the type of dirt.
If there are superficial black stains, you can try an antifungal solution or carefully applied diluted bleach. However, when the silicone is yellowed, cracked, peeling away or has mould already embedded inside it, cleaning may only improve it partially. In this situation, the problem is no longer only aesthetic. The silicone may already have lost its sealing ability and may need to be replaced.
Household products vs specialist grout cleaners
After trying baking soda, vinegar or washing-up liquid, it is normal to wonder whether it is worth continuing with household solutions or whether it makes more sense to use a specialist grout cleaner. The answer depends less on personal preference and more on the real condition of the grout. There are cases where a simple solution works well, and others where insisting on a household method only prolongs the problem without improving the result.
When to use household solutions
Household solutions make most sense for regular maintenance, light to moderate dirt and grout that is still in good condition. They are useful when the goal is to remove recent grease, surface marks, soap residue or some darkening that is not yet very deep.
They can also be the best choice for anyone who wants to start with a gentler method before moving on to something stronger. Baking soda, washing-up liquid or white vinegar, when used correctly, can work well in kitchens and bathrooms that are cleaned frequently. The most important thing is to understand that these solutions tend to work better for prevention and maintenance than for restoring heavily deteriorated grout.
When to use a professional grout cleaner
A professional grout cleaner starts to make sense when there is persistent mould, very dark staining, old grease, built-up limescale or ingrained dirt that does not come off with household methods. In these cases, the problem has gone beyond simple maintenance and may require a more specific formula, with stronger cleaning power or antifungal action.
Here, it is worth choosing a product suited to the type of dirt and the surface where it will be used. Not all products are designed for the same purpose. Some are better for mould, others for grease, and others for whitening grout. Using the right product is usually more effective than repeatedly applying a household mixture that has already shown it is not enough.
When it is better to regrout than keep scrubbing
There comes a point when cleaning is no longer the most sensible solution. If the grout is crumbling, cracked, very porous, visibly missing in places or permanently dark even after several well-executed attempts, it may be better to regrout than to keep scrubbing.
This is especially important when the problem is no longer just aesthetic. Deteriorated grout can retain more moisture, accumulate more dirt and encourage mould to return. At that stage, continuing to clean can take up time and wear the surface down even further without restoring a clean, uniform appearance. Regrouting is not the first solution, but sometimes it is the most effective one in the medium term.
Is grout sealer worth it?
Grout sealer can be worth it when the grout is clean, dry and in good condition, but you want to extend that result and make it harder for water, grease and dirt to penetrate. It acts as a protective layer, especially useful in damp or highly exposed areas such as showers, kitchen walls and floors.
It does not replace cleaning or correct existing damage. If the grout is stained, has active mould or is deteriorated, applying sealer over it will not address the cause of the problem. But when used at the right stage, it can help keep grout clean for longer and reduce the frequency of heavier cleaning.
What never to do when cleaning tile grout
Knowing how to clean tile grout is important, but knowing what to avoid makes just as much difference as choosing the right product. Many common mistakes not only reduce cleaning effectiveness, but can also stain the tiled surface, wear down the grout or even create health risks. When cleaning is rushed or products are combined incorrectly, the result can end up worse than the original problem.
Never mix bleach with other products
This is one of the most dangerous mistakes. Bleach should never be mixed with other cleaning products, especially vinegar, ammonia, descalers or detergents whose composition you do not know well. These combinations can release toxic fumes and create a serious situation, particularly in small, poorly ventilated bathrooms.
Even when using bleach on its own, it is important to apply it carefully, wear gloves, ventilate the space well and rinse afterwards. If you need to test different products, do it at separate times, with complete rinsing between one clean and the next.
Do not use steel wool on tiles
Steel wool may seem like a quick solution for grimy grout, but it usually causes more problems than benefits. On tiles, it can scratch the finish, remove shine and leave marks that are difficult to disguise. On grout, excessive friction can wear down the surface and accelerate deterioration.
For effective cleaning, it is better to use a small medium-bristle brush, an old toothbrush or a suitable sponge. The idea is to loosen dirt without attacking the material. When the tool is too abrasive, it can even make future dirt stick more easily.
Do not leave grout wet after cleaning
Many people focus on the product and forget the final step, but leaving grout wet after cleaning is a mistake that encourages mould, dark stains and accumulated moisture to return. This is especially important in the bathroom, where drying is naturally slower.
After scrubbing and rinsing, dry the surface thoroughly with a clean cloth, absorbent paper or good ventilation. Without this care, part of the work is quickly undone. In grout that already tends to darken, drying is almost as important as the cleaning itself.
Do not use acid on natural stone or sensitive surfaces
Acidic products, such as vinegar or strong descalers, are not always safe on every surface. When there is natural stone, marble, certain delicate finishes or more acid-sensitive materials around the grout, acid can stain, corrode or remove shine.
For this reason, before applying any product, it is worth confirming whether it is compatible with the material. When in doubt, the safest approach is to test on a less visible area or choose a more neutral solution. Aggressive cleaning may lighten the grout, but leave permanent damage on the rest of the surface.
Frequently asked questions about how to clean tile grout
How do you clean floor tile grout?
Floor tile grout tends to accumulate more dust, footwear residue, grease brought in from other rooms and moisture, so cleaning should always start dry. First, sweep well or vacuum to remove loose debris. Only then apply the cleaning solution directly to the grout, leave it to work for a few minutes and scrub with a suitable brush.
Is it normal for grout to turn black again shortly after cleaning?
It can happen, and it usually means the cause of the darkening has not been fully resolved. In the bathroom, for example, the problem is often linked to persistent moisture, poor ventilation or insufficient drying. In the kitchen, the most common cause is continuous build-up of grease and steam.
Can I use a steam cleaner on all types of grout?
Not in every case. A steam cleaner can help loosen dirt and make cleaning easier, but it should be used with caution. On old, weakened, cracked or crumbling grout, steam can accelerate wear. It may also not be the best option on sensitive surfaces or in areas where the silicone sealant is deteriorated.
Need professional help? Our specialists are ready.
Request your quote now!